 Your customers want to send you their selfies for display on your screen. The easiest way to get them to you is for them to email them. But you don't want to give out your personal email address right? That's where BarSelfie bridges the gap.
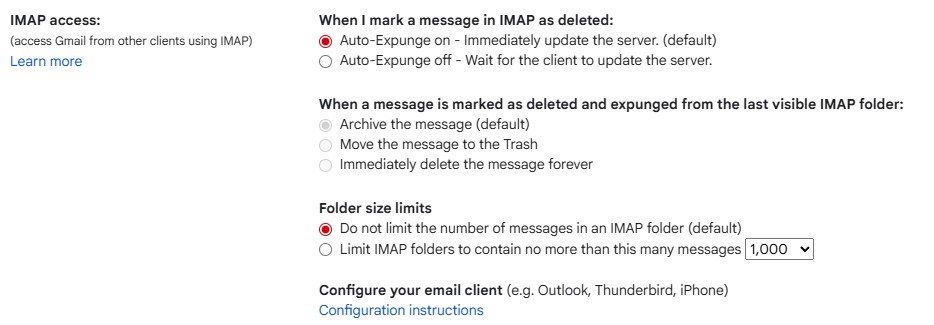
To setup the email IMAP you can use your own email server or you can use a free Gmail account. You'll want to setup an email address for people to send their pictures. We like something like this:
- gallery@YOUR_WEBSITE.com
- YOUR_BUSINESS@gmail.com
If you already have a Gmail account you can also use that one, but you might want to setup a new one just for your digital sign as you can also use this new Gmail account with your Google TV device. (We do this for every account we create for our clients.) TIP: If YOUR_BUSINESS@gmail.com is taken use something like gallery.YOUR_BUSINESS@gmail.com.
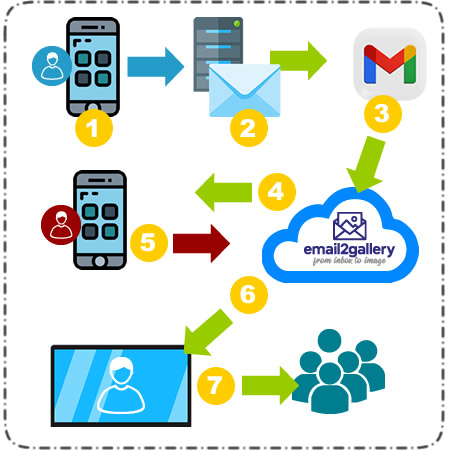
Remember even if you have your own domain, you can setup a Gmail IMAP account and setup a forwarding email account on your website. Customer sends selfie (blue), you approve (red). Every other step (green) is automated.
- Your customer emails you their selfie at gallery@YOUR_BUSINESS.com
- When the email arrives, your server automatically forwards it to YOUR_BUSINESS@gmail.com
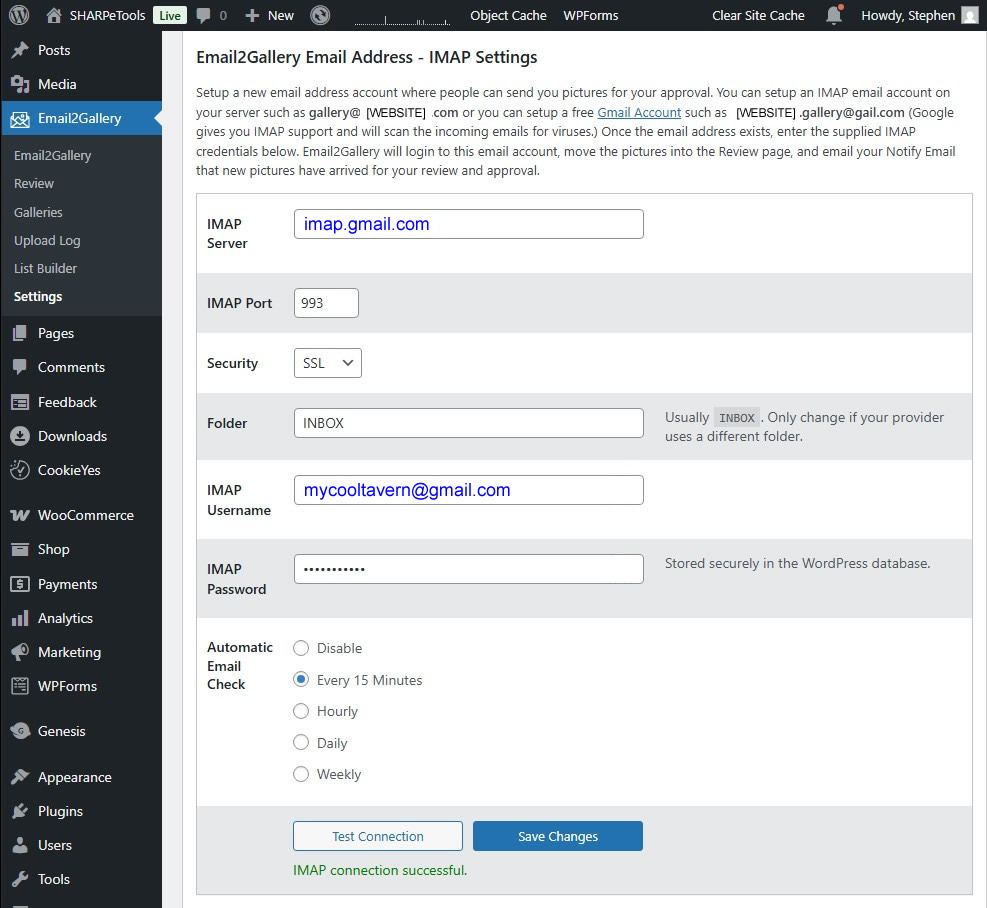
- Your BarSelfie App picks up the image (every 15 mins)
- BarSelfie emails a copy of the image to your phone (with the Approve / Deny buttons.)
- You click to approve BarSelfie sends the image to the Digital Sign slideshow
- Your slideshow reloads every 15 minutes and new slides appear
- Your customers see their selfie (and your promotions)
Why do that #2 forward to Gmail? This workflow keeps your personal email private, it uses Gmail virus checking and spam filters, also it allows you to change the public-facing email address any time you want without having to re-setup your IMAP or your BarSelfie app. Simple right?
These are the steps for setting up a free Gmail account to use with your BarSelfie. Too much work? Get BarSelfie+setup and we'll do the work for you!
✅ Step 1 - Setup a Free Gmail Account
Best for: Basic email use, not branded to a domain.
-
Setup the account:
- Go to https://accounts.google.com/signup
- Enter:
- First & last name
- Username (this becomes their email address, e.g.
YOUR_BUSINESS_NAME@gmail.com) - Password and confirm it
- Click Next
- Add:
- Recovery phone number and email (optional but recommended)
- Date of birth and gender
- Agree to Google’s Terms
- ➡️ You now have a Gmail account (e.g.
mycooltavern@gmail.com).
-
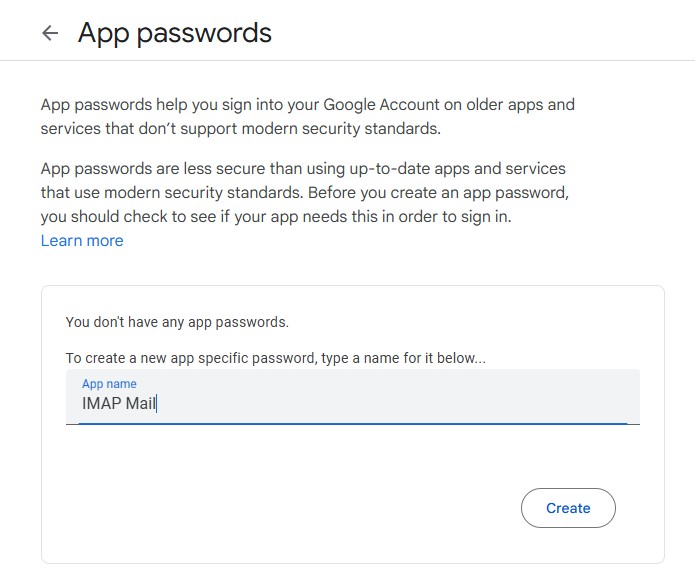
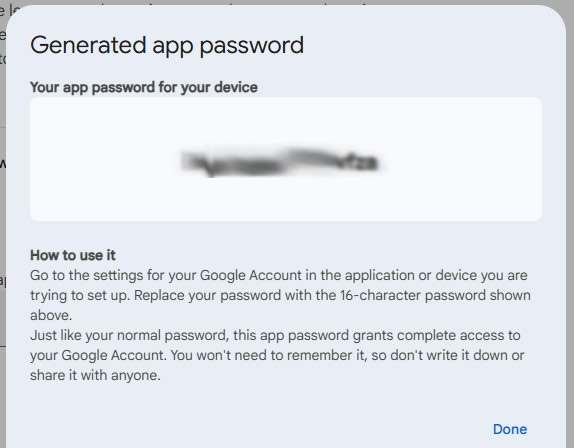
Enable 2-Step Verification (2FA) for the Gmail account
- As of May 30, 2022, Gmail no longer allows access to your account via IMAP/SMTP/POP using just your main account password.
- Go to https://myaccount.google.com/security
- Click the arrow on the right edge of the 2-Step Verification line
- Click Turn On 2-Step Verification
- Add your cell number
- Choose "Receive Codes by text message"